
Planting
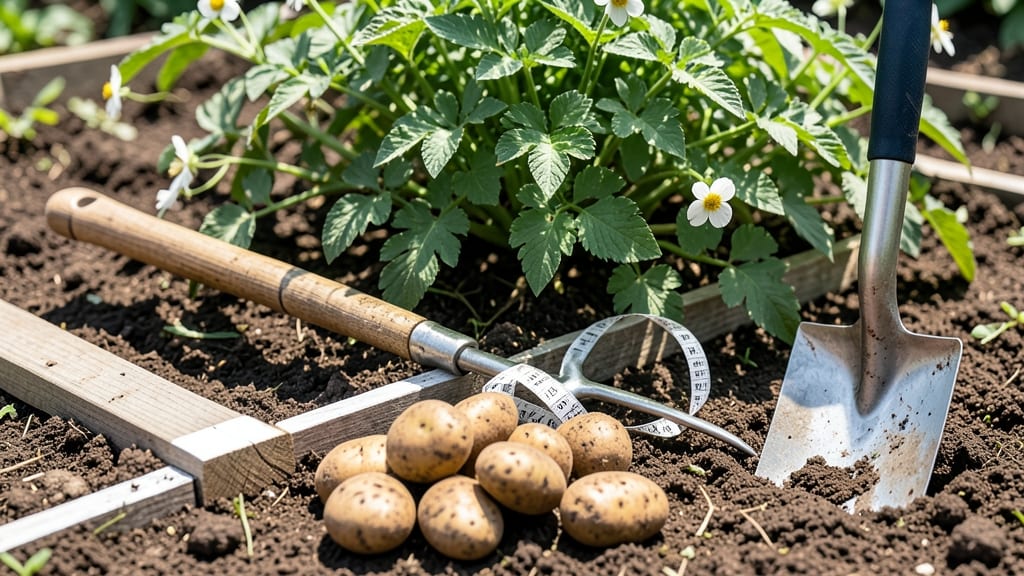
To plant potatoes at the right depth is the first step toward a perfect harvest—too shallow and they’ll bake in the sun, too deep and they’ll struggle to reach the surface.
Picture this: you’ve spent weeks waiting for the soil to warm, your seed potatoes are sprouting, and then—nothing. No green shoots, no bumps in the dirt. That’s the cost of guessing on spacing.
The science is simple, but the stakes are high: 12 inches apart in rows 3 feet apart is where most gardeners hit the sweet spot for yield and ease of harvest.
But here’s the catch: not all potatoes are created equal. Early varieties like Yukon Gold need shallower planting, while late-season Russets thrive when buried deeper. And if your soil is heavy clay or loose sand, those numbers shift.
I’ll walk you through the exact depths, the tools to check your soil, and the 3 common mistakes that ruin even the best-laid plans.
By the end, you’ll know exactly how far to plant your 🥔 for bigger tubers, fewer pests, and a harvest that puts store-bought spuds to shame. Let’s dig in.
Optimal potato planting depth by variety type (seed vs. seedling)
Getting the planting depth right for potatoes is critical—whether you're starting with seed potatoes or pre-sprouted seedlings. The wrong depth can lead to stunted growth, disease, or poor tuber formation. For seed potatoes, the classic eyes-up method ensures sprouts emerge quickly, while seedlings need slightly shallower placement.
Your soil type also plays a role: clay soil holds moisture differently than sandy soil, and loam offers the perfect balance. Let’s break it down by variety and soil conditions to maximize your harvest.
Most gardeners use the eyes-up method for seed potatoes, where you plant with the sprouts facing up and the eyes (buds) just above soil level. This method works best for early-maturing varieties like Yukon Gold or Red Pontiac, which need quick germination.
For late-season varieties like Russet or Idaho, slightly deeper planting (up to 6 inches) helps tubers form deeper in the soil. Seedlings, on the other hand, are more delicate and require shallower placement—typically 2-3 inches deep—to avoid stressing their emerging roots.
| Potato Type | Planting Method | Optimal Depth | Soil Adjustments | Best For |
|---|---|---|---|---|
| Seed Potatoes | Eyes-Up Method | 3–4 inches (eyes just above soil) | Loam: Standard Sandy: Add compost Clay: Mix in sand |
Early varieties (Yukon Gold, Red Norland) |
| Seed Potatoes | Deep Planting | 4–6 inches | Loam: Standard Sandy: Add organic matter Clay: Avoid compaction |
Late varieties (Russet, Kennebec) |
| Pre-Sprouted Seedlings | Shallow Transplant | 2–3 inches | Loam: Standard Sandy: Water frequently Clay: Loosen soil |
All varieties (faster growth) |
| Seed Potatoes | Hilling Method | Start 4 inches, hill to 12 inches | Loam: Ideal Sandy: Mulch heavily Clay: Improve drainage |
All varieties (increases yield) |
Your soil type dictates how deep you should plant. In sandy soil, which drains quickly, potatoes need slightly deeper planting (4-5 inches) to retain moisture and encourage tuber formation.
Mix in compost or aged manure to improve water retention without compacting the soil. Clay soil, on the other hand, can suffocate roots if planted too deep, so stick to 3 inches max for seedlings or 4 inches for seed potatoes.
Amend clay with sand or peat moss to create air pockets for roots.
For loam soil—the gold standard for potatoes—follow the eyes-up method for seed potatoes and plant seedlings at 2-3 inches deep. Loam’s balanced texture holds moisture while allowing roots to breathe, making it ideal for both early and late varieties.
If your soil is heavy or rocky, consider growing potatoes in raised beds or containers with a mix of 50% soil, 30% compost, and 20% perlite to mimic loam conditions.
One common mistake is planting seed potatoes too shallow, which exposes the eyes to light and causes them to sprout poorly. Another is planting seedlings too deep, which can rot their stems before they establish roots.
To avoid these issues, use a soil marker or measuring stick to ensure consistency. For container growing, plant seed potatoes 6 inches deep in a 5-gallon pot to allow room for tuber expansion.
After planting, hill the soil around the stems as they grow to encourage tuber formation. For seed potatoes, add 2-3 inches of soil when plants reach 6 inches tall, repeating every 2-3 weeks until the plant flowers.
This method works for all varieties but is especially effective for late-season potatoes, which need deeper soil to develop large tubers. Avoid hilling too early—wait until the plant has 4-6 true leaves to prevent stress.
If you’re growing multiple varieties, space them differently to avoid competition. Early varieties like New Potatoes can be planted 12 inches apart, while larger varieties like Russets need 18-24 inches between plants.
For row spacing, maintain 2-3 feet between rows to allow easy access for hilling and harvesting. In small gardens, consider vertical growing with cage systems or straw mulch to save space while still achieving optimal depth.
Common mistakes that stunt potato growth (and how to fix them)
Even experienced gardeners accidentally stunt potato growth by making simple spacing mistakes. Overcrowding or planting too shallow forces tubers to compete for nutrients, while compacted soil restricts root expansion. These errors don't just reduce yield—they also increase disease risk and make harvesting difficult.
The good news? Most issues have quick fixes that can turn a struggling patch into a thriving potato bed.
Let's start with the most critical mistake: planting potatoes at the wrong depth. Many gardeners assume "deeper is better," but burying seed potatoes too deep (below 6 inches) delays sprouting and encourages rot.
Conversely, planting too shallow (3 inches or less) exposes tubers to light, turning them green and toxic. The ideal depth depends on your soil type—loamy soil needs 4-5 inches, while sandy soil can handle 5-6 inches for better moisture retention.
⚠️ How Far to Plant Potatoes: The Critical Rule
Seed potatoes should be planted with eyes facing up at a depth equal to 3x their diameter. For most varieties, this means 4-6 inches deep. Pre-sprouted seedlings need only 2-3 inches of soil to cover the base. Row spacing matters too—12-15 inches apart in rows 2-3 feet apart prevents competition.
Fix it now: If your potatoes are already planted too shallow, gently hill soil around the stems (leave 2 inches of stem exposed to prevent rot). For deep planting, loosen the soil and reposition tubers closer to the surface.
Another common blunder is ignoring soil compaction. Heavy foot traffic or working wet soil creates a dense layer that strangles roots and limits tuber development. Compacted soil also pools water, leading to rot and disease.
Test your soil by pressing your thumb into it—if it doesn't crumble easily, it's time to intervene. Amend the area with compost or coarse sand and use a broadfork to aerate without disturbing the roots.
Over-planting is a close third on the list of growth-stunting mistakes. When potatoes are crowded, they produce small, misshapen tubers and compete aggressively for water and nutrients. This is especially problematic in small gardens or containers, where space is limited.
The fix? Thin seedlings to 12-inch spacing when they reach 6 inches tall. For container growing, limit to 1-2 plants per 5-gallon bucket—any more and you'll sacrifice yield for quantity.
Don't overlook the role of hilling in potato growth. Many gardeners skip this step, leaving tubers exposed to light and prone to greening. Hilling—piling soil around the stems as the plant grows—encourages more tuber formation and protects them from sunlight.
Start hilling when plants reach 6 inches tall, adding 4-6 inches of soil every 2-3 weeks until the plant flowers. This creates ideal conditions for larger, disease-resistant tubers.
Finally, poor drainage can silently sabotage your potato harvest. Waterlogged soil cuts off oxygen to roots, leading to rot and stunted growth. If your garden has heavy clay soil, raise beds or plant on mounds to improve drainage.
Add organic matter like peat moss or compost to lighten the soil, and avoid overwatering—1 inch per week is plenty unless your area is experiencing extreme heat. Mulch with straw to retain moisture without suffocating the plants.
With these fixes in place, your potatoes will have the space, nutrients, and conditions they need to thrive. Remember: consistent care beats occasional heroics. Monitor your plants weekly for signs of stress—yellowing leaves or stunted growth are early warnings to adjust your approach. Happy digging! 🥔