
Planting
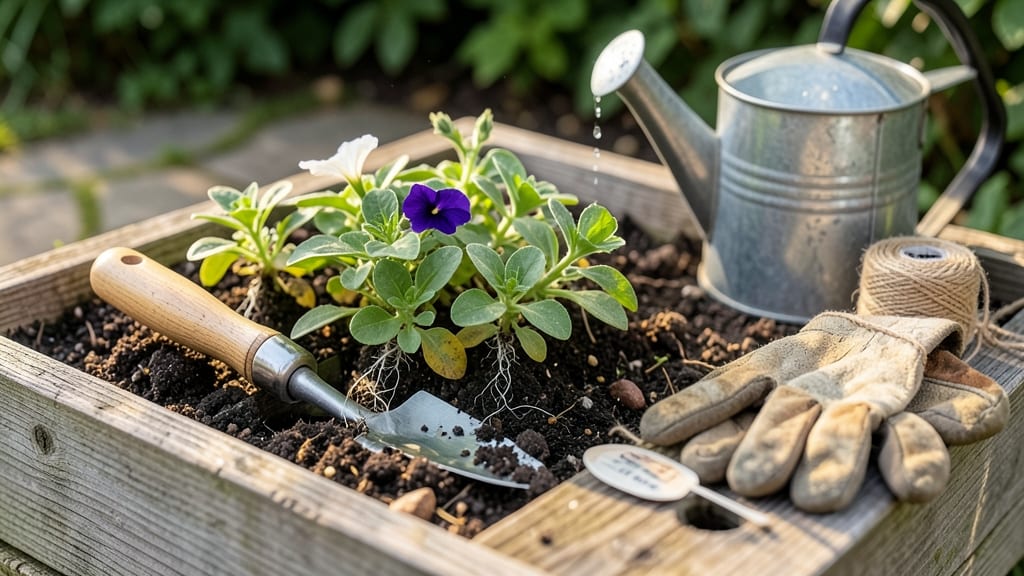
Transplanting petunias without wilting them into submission starts with the right timing and technique. 🌸 I’ve moved dozens of petunias—some thrived, others looked like they’d been run over by a lawnmower—and the difference always came down to how I handled the roots and the conditions afterward.
The secret isn’t just digging and replanting; it’s about giving them the gentlest possible transition into their new home.
First, pick a cool, overcast morning to do the work—midday sun will fry freshly transplanted petunias faster than you can say “oops.” Amend the soil with compost or aged manure to improve drainage, and space plants 12-18 inches apart so they have room to spread without competing.
When you lift them from their container, tease apart the roots gently (no shaking!) to encourage them to establish quickly in the new spot.
Water deeply right after transplanting, then mulch around the base to keep moisture in and roots cool. Within a week, you’ll see new growth—proof the petunias are settling in.
The key is patience: avoid fertilizing for 2-3 weeks while they adjust, and watch for signs of stress like yellowing leaves (usually a sign of too much sun too soon).
Even experienced gardeners mess this up—like transplanting too deep or crowding plants—which is why I always double-check spacing and soil prep. Once you nail these basics, your petunias will bounce back with bold, vibrant blooms that outlast store-bought plants by weeks. Ready to try it?
📚 In This Guide
- What you need
- Instructions
- Tips and common mistakes
- Wrapping up and next steps
What you need
- ● Petunias: Healthy, well-established plants (6-12 inches tall, depending on variety). Aim for at least 3-5 plants if planting in clusters for fuller blooms.
- ● New planting location: Well-draining soil (mix 1 part compost with 2 parts garden soil for optimal results).
- ● Full sun to partial shade (6+ hours of sunlight daily for vibrant blooms).
- ● Garden trowel or transplant spade: A sharp, medium-sized tool (6-8 inches long) for digging holes with clean edges.
- ● Watering can or hose with a gentle spray nozzle: For hydrating roots before and after transplanting.
- ● Pruning shears: To trim 1/3 of the plant’s foliage (helps reduce stress).
- ○ Organic mulch (optional but recommended): 2-3 inches of shredded bark, straw, or pine needles to retain moisture and suppress weeds.
- ● Slow-release fertilizer: A balanced 10-10-10 or low-nitrogen blend (follow package instructions).
- ● Planting gloves: To keep hands clean (especially if soil has rocks or debris).
- ● Epsom salt (magnesium sulfate): 1 tablespoon per gallon of water for a post-transplant nutrient boost (great for leaf health!).
- ● Shade cloth or temporary cover: If transplanting in hot or windy conditions (protects petunias for the first 24 hours).
Step-by-step instructions for transplanting petunias
Petunias thrive when transplanted carefully—here’s how to move them without wilting or shock.
🌱 Step 1: Choose the Right Time and Prepare the New Location
Transplant petunias on a cool, cloudy day to reduce stress—mid-morning is ideal. Avoid hot afternoons or windy conditions, which dry out roots quickly. Pick a spot with full sun (6+ hours daily) and well-draining soil. If your garden soil is heavy clay, amend it with 2-3 inches of compost to improve aeration and moisture retention.
Dig a hole twice as wide as the petunia’s root ball but only as deep as the container’s drainage holes. This prevents burying the stem, which can cause rot. Loosen the soil at the bottom of the hole with a trowel to encourage root spread. Here’s the thing—petunias hate soggy roots, so if your area floods, choose a slightly elevated spot or add a 1-inch gravel layer at the hole’s base.
🪴 Step 2: Gently Remove Petunias and Preserve the Root Ball
Water the petunias deeply 1-2 hours before transplanting to hydrate roots and make them easier to extract. Grasp the base of the plant (not the stems) and wiggle it gently while pressing around the container’s edges. If the root ball resists, slide a knife between the pot and soil to loosen it. You’ll see roots clinging to the container—this is normal, but don’t force them free.
Shake off loose soil but leave the root ball intact. Trim any damaged or circling roots with clean scissors—these can strangle new growth. For petunias in hanging baskets, invert the container and tap the rim to release the plant. If roots are tightly bound, tease them apart with your fingers. Real talk: petunias are forgiving, but the less you disturb their roots, the faster they bounce back.
☀️ Step 3: Plant and Water for Immediate Support
Place the petunia in the hole so the top of the root ball sits level with the surrounding soil—never deeper. Fill gaps with amended soil, pressing lightly to eliminate air pockets. Avoid compacting too firmly, or you’ll restrict root growth. For 4 petunias, space them 12-18 inches apart to allow airflow and prevent disease.
Water deeply and slowly at the base until moisture seeps 2 inches below the surface. Use a watering wand or hose with a gentle spray to avoid dislodging soil. Mulch with 1-2 inches of shredded bark to retain moisture and suppress weeds. Here’s where it gets fun—watch for new leaves within 5-7 days. That’s your signal the transplant took!
✂️ Step 4: Monitor and Encourage Recovery
Keep newly transplanted petunias consistently moist for the first 10-14 days—this is critical. Let the top inch of soil dry between waterings to prevent root rot, but never let it bone-dry. If leaves wilt slightly in the heat, water again immediately. Petunias are drought-tolerant once established, but they need patience during recovery.
Fertilize lightly with a balanced, water-soluble fertilizer (10-10-10) at half-strength 2 weeks after transplanting. This boosts blooms without overwhelming the roots. Deadhead spent flowers regularly to encourage continuous blooming. If you notice yellowing leaves, it’s usually a sign of overwatering—adjust your schedule and improve drainage.
Tips & tricks for stress-free petunia transplanting
Transplanting petunias successfully comes down to a few key moves that minimize stress and maximize survival. Here's what I've learned from years of trial and error in the garden.
Timing is Everything: The 1-2 hour pre-watering before transplanting is your secret weapon. This hydrates the roots so they slide out of containers smoothly without breaking. I've seen petunias resist extraction when roots are dry—it's like pulling apart wet clay. If you're working with multiple plants, start with the largest containers first since they'll need the most time to absorb water.
Root Ball Rescue: When you see roots clinging to the container, resist the urge to yank them free. Instead, gently tease them apart with your fingers or a fork—this preserves the root structure while encouraging outward growth. I've had petunias recover beautifully even with some roots still attached, but the ones where I carefully separated them always bounced back fastest. Think of it like untangling headphones: patience prevents damage.
Soil Science Matters: That 2-3 inch compost layer isn't just fluff—it's the difference between thriving and struggling petunias. For heavy clay soils, I often mix in perlite or sand to create pockets of aeration. And here's a pro move: if your area gets heavy rain, create a slight mound when planting so water runs off rather than pooling around the roots. The 1-inch gravel layer at the hole's base works wonders for drainage in problem spots.
Post-Transplant Care: The 10-14 day consistent moisture window is non-negotiable. I use a simple trick to monitor soil moisture: stick your finger an inch deep—if it feels dry, water. If it's damp, wait. This prevents that classic rookie mistake of either drowning or dehydrating new transplants. And when you see those first new leaves within 5-7 days, you'll know you've done everything right.
Pro Tips for Transplant Petunias
- Transplanting petunias successfully comes down to a few key moves that minimize stress and maximize survival.
- Timing is Everything: The 1-2 hour pre-watering before transplanting is your secret weapon.
- Root Ball Rescue: When you see roots clinging to the container, resist the urge to yank them free.
Frequently asked questions
Got questions about transplanting petunias?
You’re not alone! Here are the most common concerns—and straightforward answers—to help you keep your blooms thriving after the move.
When is the best time to transplant petunias?
Transplant petunias in the early morning or late afternoon when temperatures are mild (ideally between 60–75°F). Avoid midday heat or frost—both stress plants. Spring (after last frost) or early fall (before cold snaps) are ideal windows. If transplanting in summer, keep plants well-watered for 2–3 days beforehand to reduce shock.
How long does it take for petunias to recover after transplanting?
Petunias typically bounce back in 7–14 days, but recovery depends on conditions. Watch for new growth (like fresh leaves or buds) as a sign of success. If soil stays consistently moist and you avoid heavy pruning, they’ll often bloom again within 3–4 weeks. Patience is key—don’t overwater or fertilize too soon!
Why are my petunia leaves wilting after transplanting?
Wilted leaves usually mean transplant shock or underwatering. Check the soil—it should be moist but not soggy. If roots were damaged during transplanting, trim any mushy sections and soak roots in water for 10 minutes before replanting. For extra support, mulch around the base to retain moisture and reduce stress.
Can I transplant petunias from pots to the ground (or vice versa)?
Petunias adapt well to both container gardens and in-ground planting. If moving from pots to soil, harden them off first (acclimate to outdoor conditions for 3–5 days). For ground-to-pot transplants, choose containers with drainage holes and use lightweight potting mix. Just ensure the new spot gets 6+ hours of sunlight daily.
What’s the easiest way to divide petunias if they’re overcrowded?
Divide petunias in early spring when they’re actively growing. Gently dig up the clump, separate roots with your hands (or a clean knife), and replant divisions 2–3 inches apart. Each section should have 3–5 stems and healthy roots. Water thoroughly after transplanting to help roots establish quickly.
Wrapping up and next steps
Transplanting petunias doesn’t have to be stressful—with the right timing, tools, and care, you’ll have vibrant blooms thriving in their new home in no time! 🌸 Remember to choose the perfect moment (early morning or overcast days), handle roots gently, and keep them hydrated for a smooth transition.
Your effort will pay off with a stunning, low-maintenance garden that keeps on giving.
Ready to take the next step? Grab your gloves and get planting! For extra tips, check out our guide on maintaining petunias after transplanting to keep those flowers happy and healthy all season long.