
Planting
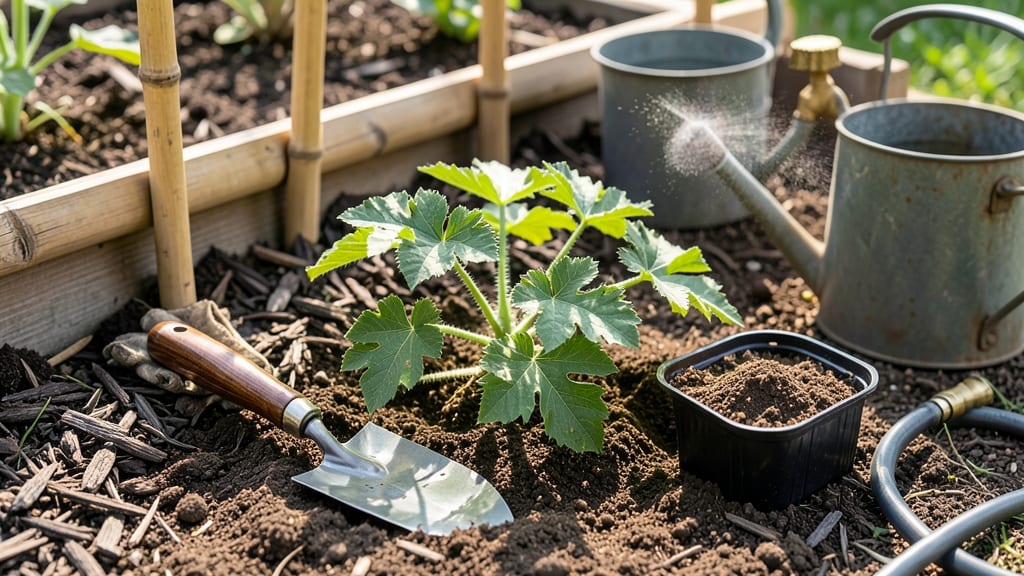
Transplanting watermelon plants the right way means the difference between vines that sprawl and fruit and ones that struggle for months. 🌱 I’ve watched seedlings wilt after transplant shock—until I learned these simple steps that keep roots happy and plants thriving from day one.
The secret starts 2-3 weeks before transplanting: harden off seedlings by moving them outdoors gradually, then pick a warm, sunny day (above 70°F) with no frost in the forecast. Watermelons hate cold soil—wait until nighttime temps stay above 60°F to avoid stunted growth.
After transplanting, focus on deep watering (1-2 inches per week) and mulching to lock in moisture. Avoid common mistakes like burying the stem too deep or crowding plants too close—watermelons need 3-4 feet of space to spread and produce.
With the right timing and care, you’ll see strong vines and heavy fruit by midsummer. Here’s exactly how to do it without the guesswork.
📚 In This Guide
- What you need
- Instructions
- Tips and common mistakes
- Wrapping up and next steps
What you need
- ● Watermelon seedlings: 3–6 healthy, sturdy plants (depending on space and desired yield). Look for seedlings with 2–4 true leaves and no signs of disease.
- ● Garden soil or potting mix: Well-draining, fertile soil with a pH of 6.0–6.8. Amend with compost (2–3 inches mixed in) for extra nutrients.
- ○ Transplanting pots or containers: Biodegradable pots (optional but helpful) or small nursery pots (3–4 inches in diameter) for seedlings.
- ● Garden trowel or transplanting spade: A sharp, clean tool to dig holes without damaging roots.
- ● Watering can or hose with a gentle spray nozzle: Keep soil moist but avoid oversaturating roots.
- ● Mulch (straw, grass clippings, or black plastic): 2–3 inches to retain moisture and suppress weeds.
- ○ Fertilizer (optional but recommended): Balanced fertilizer (e.g., 10-10-10) for planting.
- ● Low-nitrogen, high-potassium fertilizer (e.g., 5-10-10) after transplanting to encourage root growth.
- ● Warm soil: Wait until soil temperature reaches at least 70°F (21°C)—watermelons hate cold roots!
- ● Sunny spot: Choose a location with full sun (6–8+ hours daily) and space (18–24 inches between plants, 36+ inches between rows).
- ● Hardening-off period (if seedlings were indoors): Gradually expose seedlings to outdoor conditions for 7–10 days before transplanting.
- ○ Support system (optional for vining varieties): Trellis, fence, or slatted boards to train vines if growing vertically.
Step-by-Step instructions for transplanting watermelon plants
Here's my foolproof method for moving watermelon seedlings—minimizing shock and maximizing yield.
🌱 Step 1: Prepare the New Planting Site
Watermelons need warm soil and full sun—pick a spot with at least 8 hours of direct sunlight daily. Two weeks before transplanting, till the soil to a depth of 12 inches, removing any rocks or debris. I add compost to the top 6 inches of soil to improve drainage and fertility, since watermelons are heavy feeders.
Test the soil temperature with a thermometer—it should be at least 70°F before transplanting. If your soil runs cooler, cover it with black plastic for 2-3 weeks to warm it up. Avoid planting in cold, damp soil—roots won’t establish properly, and seedlings will wilt.
☀️ Step 2: Harden Off Seedlings Gradually
Start hardening off 10-14 days before transplanting by moving seedlings outdoors for 1-2 hours the first day. Place them in a shaded, sheltered spot to avoid sudden sun exposure. Gradually increase their outdoor time by 1 hour daily, exposing them to morning sun first before full afternoon heat.
Watch for wilting or yellowing leaves—this means they’re adjusting too quickly. If you see stress, move them back indoors for another day. Once seedlings tolerate full sun for 6+ hours without wilting, they’re ready for the garden. This slow transition prevents transplant shock, which can kill watermelons in just 24 hours.
🪴 Step 3: Dig Holes and Transplant Carefully
Dig holes twice as wide as the seedling’s root ball but no deeper—watermelons hate having their stems buried too deep, which can cause rot. Space plants 3-4 feet apart in rows 5-6 feet apart to allow for sprawling vines. If you’re growing bush varieties, you can reduce spacing to 2-3 feet. Gently remove the seedling from its container, loosening any circling roots with your fingers.
Place the seedling in the hole, backfilling with soil while firming gently around the base. Water deeply to settle the soil and eliminate air pockets. Avoid overwatering—soggy soil slows root growth. After transplanting, apply a 2-inch layer of mulch around the base (but not touching the stem) to retain moisture and regulate soil temperature.
💧 Step 4: Monitor and Support New Growth
Keep the soil consistently moist (not soggy) for the first 2 weeks after transplanting—watermelons need 1-1.5 inches of water weekly, but more during fruiting. Use drip irrigation or soaker hoses to deliver water at the base, avoiding wet foliage to prevent disease. Once vines start running, train them along the ground or provide trellis support if space is limited.
Fertilize lightly 2 weeks after transplanting with a balanced 10-10-10 fertilizer to encourage root and vine growth. Too much nitrogen early on will produce lush foliage but few fruits. Watch for yellowing lower leaves—this is normal as the plant redirects nutrients to new growth, but wilting or brown patches signal stress or disease.
✂️ Step 5: Prune and Maintain for Maximum Yield
When vines reach 3-4 feet long, start pruning side shoots to direct energy toward main vines and fruit development. Remove any weak or diseased leaves immediately—watermelons are susceptible to powdery mildew, so good airflow is key. If you’re growing bush varieties, prune aggressively to encourage compact growth and larger fruit.
Thin fruits when they’re golf-ball sized, keeping only the strongest 2-3 melons per vine—this ensures bigger, sweeter harvests. Remove any small, deformed, or weak-looking melons early to avoid competing with the main crop. By mid-summer, your watermelons should be thriving, with vines spreading and flowers blooming—this is when you know your transplanting paid off.
Tips & tricks for stress-free watermelon transplanting
These game-changing insights will help you avoid the most common pitfalls when moving watermelon seedlings—because even experienced gardeners can fall into these traps.
Soil Temperature Secret: That 70°F minimum isn't just a number—it's the absolute threshold for root growth. I've seen watermelons refuse to establish in soil just 5°F cooler than this. If you're working with early-season planting, consider using a soil warming mat for 1-2 weeks before transplanting to create that perfect environment. The roots will thank you with vigorous growth from day one.
Harden Off Like a Pro: The gradual 10-14 day hardening process in Step 2 is where most people fail. I learned this the hard way after losing seedlings to shock—start with just 1-2 hours in morning sun only, then increase by 1 hour daily. Watch for leaves that stay crisp rather than wilted; that's your cue they're ready for more sun. Pro tip: Use a shade cloth for the first few days to filter intense afternoon rays.
Root Ball Rescue: When you're loosening those circling roots in Step 3, don't just pull them apart—make clean vertical cuts with a knife if they're tightly bound. This prevents girdling that can strangle new growth. I also recommend adding a handful of compost to each hole before planting to give roots an immediate nutrient boost as they establish.
Mulch Magic: That 2-inch mulch layer isn't just for looks—it's your secret weapon against temperature swings. Use straw or shredded leaves rather than wood chips (which can draw moisture away). The mulch should extend out to the drip line of mature plants, creating a perfect microclimate that keeps roots consistently moist and warm.
Pro Tips for Transplant Watermelon Plants
- These game-changing insights will help you avoid the most common pitfalls when moving watermelon seedlings—because even experienced gardeners can fall into these traps.
- Soil Temperature Secret: That 70°F minimum isn't just a number—it's the absolute threshold for root growth.
- Harden Off Like a Pro: The gradual 10-14 day hardening process in Step 2 is where most people fail.
Frequently asked questions
Got questions about transplanting watermelon plants? You’re not alone! Here are some of the most common concerns—and their solutions—to help you grow like a pro.
When is the best time to transplant watermelon seedlings?
Transplant watermelon seedlings after the last frost when soil temperatures reach at least 70°F (21°C). Cold soil stunts root growth, so wait until nighttime temps stay above 55°F (13°C). If you’re in doubt, use a soil thermometer—your plants will thank you!
How do I harden off watermelon seedlings before transplanting?
Hardening off takes 5–7 days and mimics outdoor conditions. Start by placing seedlings in a shady spot for 2–3 hours daily, gradually increasing exposure to sunlight and wind. By day 7, they should handle full sun and be ready for their new home.
What should I do if my watermelon seedlings look wilted after transplanting?
Wilting is normal for the first 24–48 hours as roots adjust. Water deeply at the base (not overhead) and avoid transplanting on hot, windy days. If wilting persists beyond 48 hours, check for root damage or underwatering—your plants may need a little extra TLC.
Can I transplant watermelon plants from a container or store-bought pot?
Yes! Just ensure the roots aren’t root-bound (circling the pot). Gently loosen roots before planting and water thoroughly. Store-bought seedlings are fine, but avoid transplanting overly large plants—they struggle to recover. Smaller, healthy seedlings (4–6 inches tall) transplant best.
What’s the best spacing for watermelon plants after transplanting?
Give watermelons room to sprawl! Space vining varieties 3–6 feet apart in rows 6–8 feet apart. Bush varieties need 2–3 feet between plants and 5–6 feet between rows. Proper spacing prevents disease and ensures better fruit development.
Pro Tip:
Mulch around transplanted watermelons with straw or black plastic to retain moisture, suppress weeds, and keep roots cool. This simple step can double your chances of a thriving harvest!
Wrapping up and next steps
Transplanting watermelon plants might seem daunting, but with the right timing, tools, and care, you’ll soon be rewarded with juicy, vine-filled success! 🌱 The key is patience—acclimate seedlings, handle roots gently, and give them space to thrive.
Once your plants are settled in their new home, focus on consistent watering, mulching, and pest protection to set the stage for a bountiful harvest.
You’ve got this! 💪 Now that your watermelons are on their way, why not plan your next steps? Research companion plants (like beans or radishes) to maximize garden space, or start brainstorming creative ways to enjoy your homegrown harvest—think fresh slices, smoothies, or even homemade jam!