
Planting
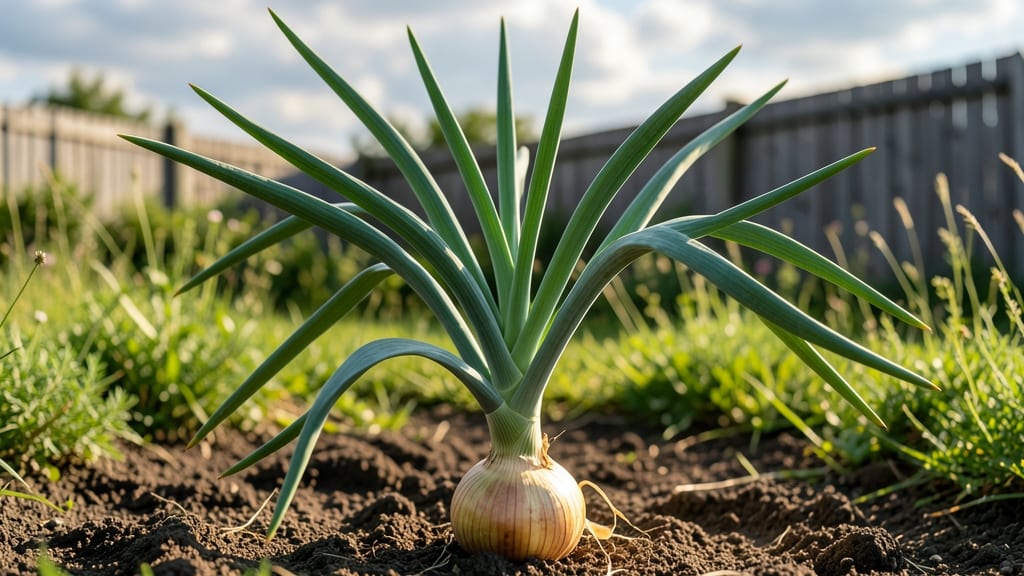
Growing a mature 🧅 onion plant means knowing the perfect moment to pull it for the sweetest flavor—and missing that window turns your harvest into bitter, pungent scraps.
You’ve nurtured those green tops from tiny seeds or sets, but how do you tell when the bulbs are truly ready? It’s not just about the days on the calendar—it’s about the leaves turning yellow, the neck tightening, and the skin becoming papery.
One wrong move, and you’ll either end up with small, underdeveloped onions or oversized ones that spoil before winter.
In this guide, I’ll walk you through the key visual cues to spot a fully mature onion, the best harvesting techniques to preserve flavor, and storage tricks that keep your crop fresh until next spring.
Whether you’re growing yellow, red, or white varieties, these steps will save you from wasted effort—and your taste buds will thank you.
By the end, you’ll know exactly when to pull your onions for peak sweetness, how to cure them properly, and which storage method works best for your climate. No more guesswork, just homegrown flavor all season long.
How to identify when your onion plant is fully mature and ready for harvest
Harvesting onions at the right time ensures sweet, flavorful bulbs instead of tough, pungent ones. The key is watching for visual and physical maturity signs that signal your onions are ready. Miss these cues, and you risk bulbs splitting or becoming woody.
Let’s break down exactly what to look for in your garden.
Onions mature over 90-150 days depending on the variety, but timing varies by climate. In cool regions, onions often mature earlier in the season, while warm climates may see slower development. Paying attention to your local frost dates helps too—harvest before the first frost to avoid spoilage.
Don’t rely solely on days after planting. Instead, focus on three key indicators: leaf color, bulb firmness, and stem condition. These signs work for yellow, red, and white onion varieties alike. When you spot all three, it’s time to harvest!
| Maturity Indicator | What to Look For | Action to Take |
|---|---|---|
| Leaf Color | Top leaves turn yellow-brown and flop over | Harvest within 1-2 weeks to prevent splitting |
| Bulb Firmness | Bulbs feel firm and dry when gently squeezed | Avoid harvesting if bulbs feel soft or spongy |
| Stem Condition | Neck tightens and skin becomes papery | Use a garden fork to lift bulbs carefully |
| Bulb Size | Diameter reaches 2-3 inches (varies by variety) | Smaller bulbs can be harvested earlier for green onions |
| Regional Timing | Cool climates: Late June–July Warm climates: August–September |
Adjust for your last frost date and variety |
The leaf color change is the most obvious sign. When about half the leaves turn yellow-brown and flop over, your onions are nearing maturity. This happens because the plant redirects energy from leaf growth to bulb development.
If you wait too long, the leaves may dry completely, but the bulbs might split.
Check bulb firmness by gently squeezing a few onions. A mature onion feels solid and dry, almost like a small rock. If it’s still soft or moist, it needs more time.
Overripe onions lose flavor and become pungent, so timing is everything. Pro tip: Dig up one onion to test—this gives you a clear signal for the rest of your crop.
In warm climates, onions often mature later in the season due to slower growth. If your area experiences high summer temperatures, consider planting short-day varieties like Texas Early White or Southern Belle. These adapt better to heat and still produce sweet bulbs. Always check seed packets for days-to-maturity estimates.
One common mistake is harvesting based on bulb size alone. Some varieties, like red onions, stay smaller but are still flavorful when leaves yellow. Others, like yellow storage onions, need larger bulbs for long-term keeping.
Match your harvest timing to the variety’s intended use—sweet onions for fresh eating vs. storage onions for winter.
If you’re unsure whether your onions are ready, perform the "neck test". The stem above the bulb should tighten and shrink slightly. This indicates the onion is fully mature and ready to harvest.
Ignoring this sign can lead to bulbs that split open or develop hollow centers, ruining your harvest.
Regional differences play a huge role in harvest timing. In Zone 5 or cooler, onions often mature by late June or early July. But in Zone 8 or warmer, they may not reach maturity until September. Always account for your local climate when planning your harvest schedule.
Once you’ve confirmed maturity, act quickly! Use a garden fork to loosen soil around the bulb before pulling gently. Avoid cutting the neck—leave about 1 inch of stem attached.
This helps with curing and storage. After harvesting, lay bulbs in a dry, shaded area to cure for 2-3 weeks before storing.
Remember: The sweetest onions come from precise timing. Watch for those yellowing leaves, test bulb firmness, and adjust for your climate. With these tips, you’ll enjoy homegrown onions at their peak flavor all season long. Happy harvesting!
Step-by-step harvesting and curing process for long-term onion storage
Once your mature onion plant shows the perfect harvest signs—yellowing tops and papery skins—it’s time to act fast. A rushed harvest can lead to spoilage, while waiting too long turns sweet bulbs bitter.
The key to long-term storage starts with proper harvesting techniques and a well-executed curing process.
After uprooting, onions need 10-14 days of drying in ideal conditions—60-70°F and 60-70% humidity. Too much heat or moisture speeds up decay, while low humidity causes shriveling.
I’ve learned the hard way that skipping curing leads to moldy onions by winter! Let’s walk through the exact steps to ensure your harvest stays fresh until spring.
Step-by-Step Onion Harvesting & Curing
- Step 1: Choose Dry Morning – Harvest mature onion plants on a sunny, dry morning after dew evaporates. Wet bulbs won’t cure properly.
- Step 2: Loosen Soil Gently – Use a garden fork to lift onions 3-4 inches deep, avoiding cuts to bulbs. Shake off excess dirt.
- Step 3: Trim Tops – Cut foliage back to 1 inch above bulbs with clean pruning shears. Long stems invite disease.
- Step 4: Cure in Shade – Lay onions in a well-ventilated, shady spot (not direct sun) for 3-5 days to toughen skins.
- Step 5: Move Indoors – Transfer to a dry, dark area with 60-70°F temps and circulating air for 10-14 days to complete curing.
- Step 6: Store Properly – Once fully dry and papery, store in mesh bags or braids in a cool, dry place (50-60°F).
During curing, check onions daily for soft spots or mold. Remove any affected bulbs immediately to prevent spread. I once lost half my harvest because I ignored a few rotten onions—don’t make that mistake! The neck should shrink and the skin turn matte and dry before storage.
For long-day onions (like Texas Super Sweet), aim for 120-150 days from planting. Short-day varieties (e.g., Red Creole) mature faster—90-120 days. Over-mature onions develop hollow centers and bitter flavors, so timing is everything. Use a moisture meter if your climate is unpredictable.
After curing, store onions in a well-ventilated spot with low humidity. Avoid refrigeration unless you’re storing for more than 6 months, as cold temps convert sugars to sulfur compounds, making them taste bitter.
With these steps, your onions will stay fresh until spring planting—ready to replant or cook up delicious meals.