
Planting
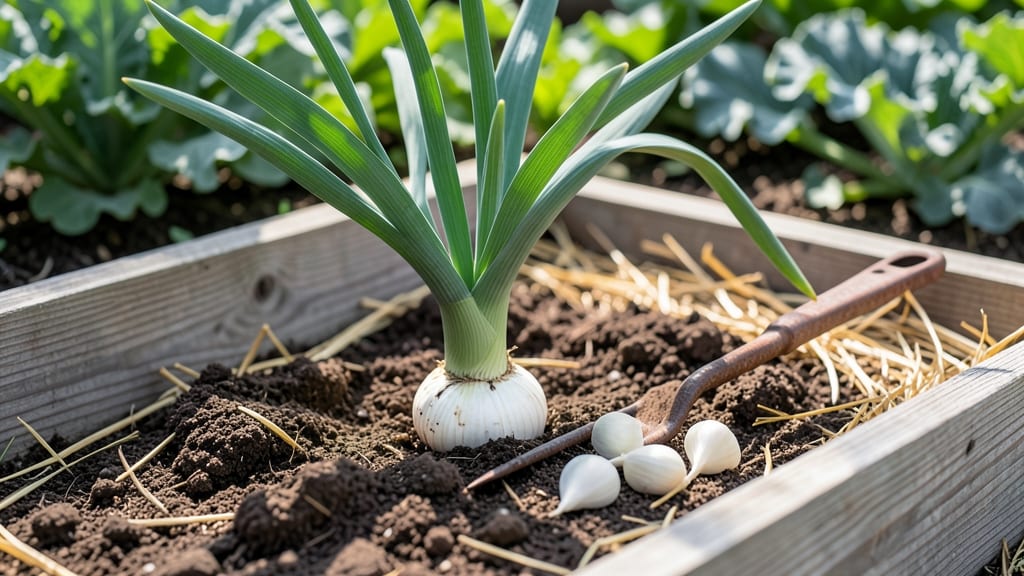
Spring garlic in Zone 6 grows best when planted between March and early April, a window that balances soil warmth and frost risk for strong bulb formation.
Spring garlic lovers in Zone 6 know the difference between a thriving harvest and wasted effort comes down to one critical factor: timing. Plant too early, and your cloves rot; too late, and you miss the prime window for bulb development.
This isn't just about avoiding frost—it's about giving your 🧄 the right conditions to develop properly. The soil needs to be workable but not yet overheating, and the days should be long enough to encourage steady growth without stress.
Below, I’ll walk you through the exact timing, soil prep, and planting tricks that have helped gardeners in Zone 6a-6b go from cloves to harvest-ready bulbs every season.

The exact 6-Week spring planting window for Zone 6 garlic
Timing your Zone 6 garlic planting within a precise 6-week window determines whether you'll harvest plump bulbs or miss the boat entirely. Unlike fall-planted garlic, spring garlic requires specific soil temperature triggers and moon phase alignment to maximize bulb development before summer heat sets in.
Science shows garlic cloves need consistent 40-50°F soil temps to sprout without rotting, while daytime highs above 75°F stunt bulb growth. In Zone 6, this translates to a March 15 to April 30 window—give or take 5 days based on your microclimate.
Here's the critical 6-week window breakdown for Zone 6:
For hardneck varieties like 'German White' or 'Music,' aim for the earlier end of this window (March 15-25) since they need cooler temps to form scapes. Softneck varieties like 'Silverskin' tolerate slightly warmer planting (March 25-April 10) but may produce smaller bulbs if planted after April 1.
Your local microclimate shifts this window by up to 10 days. Urban areas with heat islands may need to plant by March 20, while rural spots can wait until April 5. Check your last frost date—planting after April 15 risks heat stress before bulbs form.
Pro tip: Use a soil thermometer to verify temps. If your soil stays below 40°F for more than 3 days, delay planting until temps stabilize. The root zone (6" deep) is what matters most—not surface temps.
Moon phase matters too. Plant during the waxing moon (increasing light) for stronger root development. Avoid planting during the full moon or waning moon when energy flows upward, potentially weakening bulb formation.
Spring-planted garlic in Zone 6 won't produce full-sized bulbs like fall garlic, but with perfect timing, you'll get 60-70% of normal bulb size—enough for cooking and storing. The key is stopping watering by June 15 to trigger bulb maturation before summer heat.
Remember: No two Zone 6 gardens are identical. Track your own planting dates and bulb sizes to refine your window over time. That's how we all become garlic-growing experts! 🌱
Step-by-step spring garlic planting process for Zone 6 growers
Spring garlic planting in Zone 6 requires precision to ensure your hardneck varieties develop plump bulbs by harvest. Unlike fall planting, spring garlic needs 6-8 weeks of warm soil before summer heat arrives.
I’ve planted garlic in my backyard for years, and the key difference between a thriving harvest and disappointment comes down to soil prep and planting technique. Let’s break it down step-by-step to maximize your yield.
Before you even touch your garlic cloves, focus on creating the ideal growing conditions. Zone 6 soil often struggles with compacted clay or low organic matter, both of which stunt bulb development.
I recommend testing your soil’s pH (6.0-7.0) and amending it with compost or aged manure at least 2 weeks before planting. For my raised beds, I mix in a 2-inch layer of compost and a balanced fertilizer (10-10-10) to give those roots a nutrient boost right from the start.
🌱 Step-by-Step Spring Garlic Planting Guide for Zone 6
- 1 Separate cloves: Break apart your garlic bulb into individual cloves, ensuring each has a paper skin attached. Larger cloves produce bigger bulbs, but never use store-bought garlic—it’s treated to prevent sprouting.
- 2 Soil prep: Loosen soil to 8-10 inches deep with a broadfork to improve drainage. Mix in 2 cups compost per square foot and a handful of bone meal for phosphorus to encourage root growth.
- 3 Planting depth: Create 2-inch deep holes spaced 4-6 inches apart in rows 12 inches apart. Place cloves pointy-end up—this ensures the shoot grows upward. Cover with soil and gently firm.
- 4 Companion planting: Interplant with onions, lettuce, or carrots to deter pests like garlic moths. Avoid planting near beans or peas, which compete for nutrients.
- 5 Watering routine: Water deeply once a week (more if drought stress appears). Keep soil moist but not soggy—garlic hates waterlogged roots. Mulch with straw to retain moisture.
- 6 Post-planting care: Fertilize lightly with fish emulsion when shoots reach 4 inches tall. Remove flower scapes (if hardneck) to redirect energy to bulb growth. Harvest when lower leaves brown (~July-August).
One of my biggest spring garlic mistakes was planting too shallow—just 1 inch deep instead of the recommended 2 inches. This led to uneven bulb development and smaller yields. The pointy-end-up rule is non-negotiable; I’ve seen cloves planted upside-down fail to sprout entirely.
For container gardening in Zone 6, use pots at least 12 inches deep with drainage holes to prevent root rot.
To maximize your Zone 6 garlic yield, consider planting two varieties: a hardneck (like Music or German White) for scapes and a softneck (like Silverskin) for storage.
Hardnecks produce larger bulbs in cooler climates, while softnecks store longer. I’ve found that succession planting every 2 weeks in early spring extends my harvest window by 3-4 weeks.
Remember, spring garlic in Zone 6 is a short-season crop, so every detail matters. With the right soil prep, planting depth, and companion plants, you’ll be harvesting plump, flavorful bulbs by late summer—ready to cure and store for months