
Planting
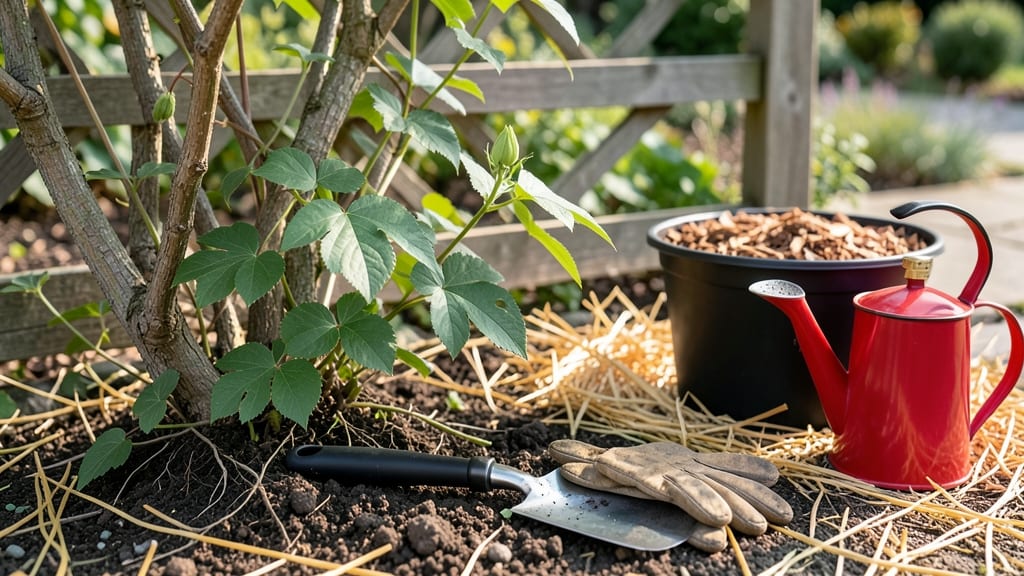
Transplanting clematis in fall can double your plant's vigor next spring—if you time it right. 🌿 The secret lies in moving these hardy vines before the first frost, when roots establish but the plant hasn't yet entered deep dormancy.
I've transplanted mine in late October for years, and the difference in growth is dramatic compared to spring moves.
Start by pruning back the vines to about 12 inches—this focuses energy on root growth rather than maintaining foliage. Amend the soil with compost for better moisture retention, and water deeply the day before moving.
Dig a hole twice as wide as the root ball but no deeper, since clematis roots spread wide but stay shallow.
After transplanting, mulch heavily with straw or shredded leaves to protect roots from winter temperature swings. The key is keeping the soil consistently moist but not soggy—fall's cooler air means water evaporates slower, so check weekly. By spring, you'll see new shoots emerging from the base, signaling successful establishment.
This method works best in zones 4-9, though northern gardeners should aim for early fall (September) to avoid early frosts. Southern gardeners can wait until late October, but avoid transplanting when daytime temps drop below 50°F. The payoff? Stronger plants that bloom earlier and more prolifically than store-bought specimens.
📚 In This Guide
- What you need
- Instructions
- Tips and common mistakes
- Wrapping up and next steps
What you need
- ● Healthy clematis plant(s): 1-2 mature vines (3-5 years old) with strong stems and vibrant foliage.
- ● Shovel or spade: 1 medium-sized (18-24" blade) for digging.
- ● Garden fork: 1 for loosening compacted soil.
- ● Pruning shears: 1 pair (sterilized with rubbing alcohol).
- ● Compost or well-aged manure: 5-10 gallons (mix 1 part compost to 2 parts native soil).
- ● Organic mulch: 2-3 inches (straw, shredded leaves, or wood chips).
- ● Transplanting stakes or trellis: 1-2 (6-8 ft tall, if needed for support).
- ● Watering can or hose with nozzle: 1 (with gentle spray setting).
- ● Garden gloves: 1 pair (to protect hands from thorns and soil).
- ● Measuring tape or ruler: 1 (for spacing new plants 3-6 ft apart).
- ● Root stimulator: 1 bottle (e.g., mycorrhizal fungi or seaweed extract).
- ● Slow-release fertilizer: 1 bag (balanced 10-10-10 or clematis-specific formula).
- ● Soil test kit: 1 (to check pH—clematis prefers 6.0-7.0).
- ● Planting hole frame: 1 (DIY with rebar or a store-bought ring).
- ● Frost cloth: 1 roll (for early fall transplants in cold climates).
Step-by-Step instructions for transplanting clematis in fall
Fall is the perfect time to move clematis—here’s how to do it right for strong roots and next year’s blooms.
🌱 Step 1: Choose the Right Time and Prepare the New Location
Transplant clematis when daytime temperatures stay above 50°F but nights dip below 60°F—typically 4-6 weeks before your first frost. This gives roots time to establish without winter stress. Pick a spot with 6+ hours of sun and well-draining soil; clematis roots rot easily in soggy conditions.
Dig the new hole twice as wide as the root ball but only as deep as the container. Mix the excavated soil with 2-3 inches of compost to enrich it. If your soil drains poorly, add a 4-inch layer of coarse sand or gravel at the bottom. Water the hole deeply the day before transplanting to settle the soil.
🪴 Step 2: Dig Up the Clematis Carefully
Water the clematis 2-3 days before moving to keep roots supple. Use a sharp spade to cut a clean circle around the plant, 12-18 inches from the stem, to avoid damaging roots. Lift the root ball gently—if it resists, run the spade deeper. Wrap the root ball in burlap or a tarp to protect it from drying out during transport.
Inspect the roots for rot or damage. Trim any black, mushy roots with sterilized pruners. If the root ball is dry, soak it in a bucket of water for 30 minutes before replanting. This ensures roots rehydrate quickly and reduces transplant shock.
☀️ Step 3: Plant at the Same Depth and Mulch Well
Place the clematis in the new hole so the top of the root ball sits level with the soil surface—never deeper. Fill gaps with the amended soil, pressing lightly to remove air pockets. Water thoroughly until moisture seeps 2-3 inches deep. This helps soil settle and eliminates gaps where roots could dry out.
Spread 3-4 inches of mulch (wood chips or straw) around the base, keeping it 6 inches away from the stem to prevent rot. Mulch insulates roots in winter and retains moisture. Stake the plant if needed, but avoid tying it too tightly—clematis vines need flexibility to grow.
💧 Step 4: Water and Protect Through Winter
Water deeply once a week unless rain provides 1 inch of moisture. Clematis roots need consistent hydration to establish, but soggy soil invites disease. Reduce watering in late fall as temperatures drop, but keep soil slightly moist—not bone-dry.
After the first hard frost, mound 4-6 inches of mulch over the root zone to shield roots from freezing. Remove the mulch in early spring once temperatures climb above 40°F. Prune back any dead or weak stems in late winter to encourage fresh growth.
Tips & tricks for perfect fall clematis transplanting
Fall transplanting gives clematis a head start on next year's growth—here's how to avoid common pitfalls and set your vines up for success.
Timing is Everything: Those 4-6 weeks before first frost are critical because clematis roots need time to establish before winter dormancy. I've seen plants struggle when moved too late—roots don't have enough time to harden off. Check your local frost date and work backward to schedule your transplant. If you're in doubt, err on the earlier side of that window.
Root Ball Rescue: In Step 2, when you're inspecting the roots, pay special attention to the 30-minute soak if roots look dry. I learned this the hard way after transplanting a thirsty clematis on a warm fall day—it wilted dramatically within days. The soak ensures roots rehydrate properly before going into new soil. Use lukewarm water to avoid shocking the roots further.
Mulch Matters More Than You Think: The 3-4 inches of mulch you'll spread isn't just for looks—it's insulation for winter. I've found that adding an extra 1-2 inches of mulch in colder climates (below 40°F winters) gives roots that extra protection. Just remember to keep it 6 inches away from the stem to prevent rot at the base.
Soil Prep Secret: When amending your hole with 2-3 inches of compost, mix in a handful of bone meal (optional) for a phosphorus boost—clematis loves phosphorus for strong root development. This is especially helpful if your soil tests low in nutrients. The compost will improve soil structure, while bone meal gives roots an energy kick to establish quickly.
Pro Tips for Transplant Clematis Fall
- Fall transplanting gives clematis a head start on next year's growth—here's how to avoid common pitfalls and set your vines up for success.
- Timing is Everything: Those 4-6 weeks before first frost are critical because clematis roots need time to establish before winter dormancy.
- Root Ball Rescue: In Step 2, when you're inspecting the roots, pay special attention to the 30-minute soak if roots look dry.
Frequently asked questions
Got questions about transplanting clematis in the fall? You’re not alone! Here are some of the most common concerns—and their answers—to help you tackle your project with confidence.
When is the exact best time to transplant clematis in fall?
The ideal window is 4–6 weeks before your first hard frost, typically late September to early November in most U.S. zones. Aim for cooler temps (50–60°F) when the plant is semi-dormant but still active. Avoid transplanting after the ground freezes—roots need time to establish before winter!
Can I transplant clematis in fall if I live in a cold climate (Zone 3–5)?
Clematis are hardy—just take extra precautions. Mulch heavily (3–4 inches) with straw or shredded leaves, water deeply before the first freeze, and protect the crown with a thick layer of mulch or burlap. Choose early fall (September) to give roots time to harden off before winter.
What if my clematis has no leaves by fall? Is it too late?
Not at all! Many clematis varieties shed leaves by late summer/early fall—this is normal. Focus on root health: Dig carefully, prune dead stems, and ensure the new location has well-draining soil. A dormant transplant will wake up stronger in spring with proper care.
Should I prune my clematis before or after transplanting?
Prune after transplanting! Trim back any damaged or weak stems to encourage new growth in spring. For Group 1–2 clematis (early bloomers), a light prune is fine; for Group 3 (late bloomers), wait until spring. Avoid heavy pruning now—it stresses the plant.
My transplanted clematis looks wilted. Is it dying?
Don’t panic! Wilting is often temporary due to transplant shock. Water deeply (1–2 inches) every 5–7 days until new growth appears. Keep the soil moist but not soggy, and avoid fertilizing for 4–6 weeks. Most clematis bounce back within 2–3 weeks with patience!
| Quick Troubleshooting Guide |
|---|
| Yellow leaves? Likely nutrient deficiency—add compost or a balanced fertilizer in spring. |
| No blooms next year? Clematis need time to recover. Prune correctly in spring and ensure full sun. |
| Moldy soil? Improve drainage by amending soil with sand or perlite before replanting. |
Wrapping up and next steps
Transplanting clematis in the fall is a game-changer for hardy vines—just follow the right timing, prep, and aftercare! 🌿 With cooler temps and moist soil, your plants will establish roots beautifully before winter.
Whether you’re moving a struggling vine or expanding your garden, this is your chance to give them a fresh start.
Ready to take action? Mark your calendar for late September to early November, gather your tools, and get digging! Your clematis will thank you with vibrant blooms next spring. Start planning your transplant today!