
Planting
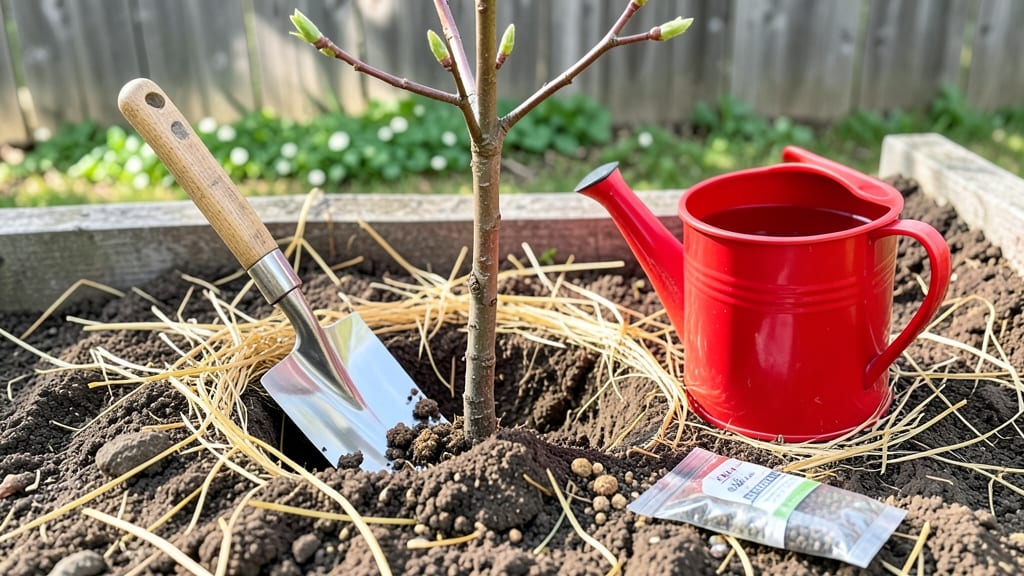
Transplanting a cherry tree isn't as scary as it sounds—especially when you time it right. 🌳 I’ve moved three myself, and the key is working with the tree’s natural rhythm, not against it.
The best time to transplant is late fall or early spring, when the tree’s dormant but the ground isn’t frozen. Younger trees (under 10 years) handle it best, while older ones need extra care to avoid shock.
Your soil prep makes all the difference. Loosen the ground where you’re moving it to—cherry trees hate compacted roots—and mix in compost for better drainage. Before digging, score the root ball with a sharp spade to encourage new roots to form.
For dwarf varieties, keep the root ball intact; standard trees can handle a bit more root disturbance, but never let roots dry out during the move.
Watering is where most people mess up. After transplanting, soak the root zone deeply every 3-5 days for the first month, then taper to weekly waterings once the tree’s established.
Mulch around the base (but not touching the trunk) to retain moisture and keep roots cool. Within a year, you’ll see fresh growth—proof the tree’s thriving in its new home.
Dwarf cherries recover faster than standard varieties, but both benefit from staking if needed. Avoid fertilizing right after transplanting—wait until new growth appears. Patience is key: give it time to adjust, and you’ll have a lush canopy in no time.
📚 In This Guide
- What you need
- Instructions
- Tips and common mistakes
- Wrapping up and next steps
What you need
- ● Cherry Tree: A healthy, root-bound tree (ensure it’s dormant in late fall/early spring for best results).
- ● New Planting Hole: 2-3x wider than the root ball
- ● Same depth as the root ball (or slightly deeper for drainage)
- ● Garden Gloves: Heavy-duty, waterproof gloves (1 pair) for protection.
- ● Shovel: Round-point shovel (for digging)
- ● Transplanting spade (for lifting roots)
- ● Pruners: Sharp, sterilized pruners (for trimming dead branches or roots).
- ● Burlap or Landscape Fabric: 3-4 feet of burlap (to wrap the root ball for easier transport).
- ○ Staking Supplies (Optional but Recommended): 2-3 wooden stakes (4-6 ft tall)
- ● Soft tree ties or garden twine (to secure the tree without damaging the trunk)
- ● Mulch: 2-3 inches of organic mulch (e.g., wood chips or shredded bark) for moisture retention.
- ● Watering Can or Hose: With a gentle spray nozzle for post-transplant hydration.
- ● Compost or Well-Draining Soil Mix: 1-2 bags (improve soil quality if native soil is poor).
Step-by-step instructions for transplanting a cherry tree
Reviving a root-bound cherry tree takes patience and precision—here's how to do it right.
🪴 Step 1: Prepare the New Planting Site
Choose a location with full sun exposure (6-8 hours daily) and well-draining soil. Cherry trees thrive in slightly acidic soil with a pH between 5.5 and 6.5. If your soil is heavy clay or compacted, amend it with 3-4 inches of compost mixed into the top 12-18 inches of soil.
Dig a hole twice as wide as the tree's root ball but only as deep as the root ball itself. This prevents burying the trunk too deeply, which can suffocate the roots. Loosen the sides of the hole with a shovel to encourage root spread into the surrounding soil.
🌱 Step 2: Carefully Remove the Tree from Its Current Pot
Water the tree thoroughly 24 hours before transplanting to reduce root shock. Gently tap the sides of the pot to loosen the root ball, then slide the tree out by grasping the base of the trunk. If roots are circling tightly around the root ball, use a sharp knife to make 2-3 vertical cuts to encourage outward growth.
Inspect the roots for any that are dried, mushy, or girdling. Trim away any dead or damaged roots with clean pruning shears. You'll see healthy roots are white or light tan, while unhealthy roots are dark brown or black. Keep the root ball intact as much as possible—this minimizes stress on the tree.
☀️ Step 3: Position and Plant the Tree
Place the tree in the hole so the top of the root ball sits 1-2 inches above ground level. This ensures the tree doesn't settle too deeply after backfilling. Fill the hole with native soil, tamping down gently in layers to remove air pockets. Avoid compacting the soil too firmly—you want it loose enough for roots to penetrate easily.
Create a water well around the base of the tree by mounding soil slightly higher than the surrounding area. This helps direct water straight to the roots. Water the tree deeply immediately after planting to settle the soil and eliminate air gaps.
💧 Step 4: Mulch and Water for Recovery
Spread 2-3 inches of organic mulch (like wood chips or shredded bark) over the soil surface, keeping it 3-4 inches away from the trunk to prevent rot. Mulch helps retain moisture and regulates soil temperature, which is critical for young roots establishing in new soil.
Water the tree every 2-3 days for the first 4-6 weeks, providing 1-2 gallons per watering to keep the soil consistently moist but not soggy. You'll know the tree is getting enough water when the top 2-3 inches of soil feel damp to the touch. Avoid overhead watering to prevent fungal diseases.
⏰ Step 5: Monitor and Support Growth
Fertilize the tree 6-8 weeks after transplanting with a balanced, slow-release fertilizer (like 10-10-10) to encourage new root and canopy growth. Apply it according to package instructions, usually 1-2 times per year in early spring. Avoid heavy fertilizing immediately after transplanting—it stresses the tree further.
Stake the tree only if necessary—young cherry trees with weak trunks may need temporary support. Use 2-3 stakes positioned 6-12 inches from the trunk and tie the tree loosely with soft fabric strips to prevent trunk damage. Remove stakes after 1 year to allow natural trunk strengthening.
Tips & tricks for reviving a root-bound cherry tree
Here's what nobody tells you—these small details make all the difference when transplanting your cherry tree.
Soil Prep is Non-Negotiable: The 3-4 inches of compost mixed into the top 12-18 inches of soil isn't just about nutrients—it's about creating the perfect air-to-water ratio for roots. I've seen trees fail when planted in unamended clay because roots can't breathe. Test your soil first if you're unsure about drainage; a simple pH test kit from your garden center will tell you everything you need to know.
Root Pruning Matters More Than You Think: Those 2-3 vertical cuts you make when roots are circling aren't just decorative—they're essential. I learned this the hard way after transplanting a tree without cutting, only to watch it struggle for years. The cuts encourage outward growth rather than keeping roots trapped in their old circular pattern. Make them clean and precise with a sharp knife.
Watering Wisdom After Planting: The immediate deep watering after planting isn't just about settling the soil—it's about creating a moisture barrier that helps roots establish. I recommend using a soaker hose for the first few weeks to ensure water penetrates deeply without wetting the leaves. The goal is to keep that top 2-3 inches of soil consistently damp, not soggy.
Mulch Placement is an Art: That 2-3 inches of mulch you spread should always stay 3-4 inches away from the trunk. Too close and you risk rot; too far and you lose its protective benefits. I like to create a slight volcano shape with the mulch, higher in the center and sloping down toward the edges, to help direct water toward the roots.
Pro Tips for Transplanting Cherry Tree
- Here's what nobody tells you—these small details make all the difference when transplanting your cherry tree.
- Soil Prep is Non-Negotiable: The 3-4 inches of compost mixed into the top 12-18 inches of soil isn't just about nutri...
- Root Pruning Matters More Than You Think: Those 2-3 vertical cuts you make when roots are circling aren't just decora...
Frequently asked questions
Got questions about transplanting your cherry tree? You’re not alone! Here are some of the most common concerns—and their solutions—to help you navigate the process with confidence.
When is the best time to transplant a cherry tree?
The ideal window is late fall to early spring (dormant season), when temperatures are cool, and the tree isn’t actively growing. Avoid transplanting during heatwaves or frost—root systems are more vulnerable then! For potted cherry trees, spring is also a great time if you’re moving them to the ground.
How do I know if my cherry tree is root-bound before transplanting?
Check for circular roots growing around the pot’s base or roots poking out of drainage holes. Gently loosen the soil—if roots are tightly packed or wrapped like a nest, it’s time to transplant! Root-bound trees often show stunted growth or yellowing leaves as a red flag.
Can I transplant a cherry tree in summer? What are the risks?
Transplanting in summer is risky but possible with extra care. If you must do it, water deeply 2–3 days before and after moving, and provide daily shade for 2–3 weeks. Summer stress can lead to leaf scorch or root damage—so plan ahead or wait for cooler months!
How much water does a newly transplanted cherry tree need?
Water thoroughly right after transplanting, then keep the soil consistently moist (not soggy) for the first 4–6 weeks. Deep watering 2–3 times per week (or daily in extreme heat) helps roots establish. Mulch around the base to retain moisture—just keep it 3–4 inches away from the trunk.
Will my cherry tree survive if I transplant it with fruit already on it?
Transplanting a fruit-laden cherry tree is stressful but doable if the tree is healthy. Remove 50–70% of the fruit to reduce strain on the roots. Focus on watering and shade post-transplant—new roots need energy to support both growth and fruit production. Next year’s crop will likely be more abundant!
What’s the best alternative if my cherry tree is too large to move?
If transplanting feels overwhelming, consider grafting a new cherry variety onto existing roots (if the trunk is still sturdy) or planting a new tree nearby. For container-grown cherries, pruning to reduce size before transplanting can also help. If all else fails, enjoy your tree’s shade and plan a replacement for next season!
Wrapping up and next steps
Transplanting your cherry tree might feel like a big task, but with the right tools, patience, and care, you’ll soon be rewarded with a thriving, lush canopy that brings beauty and joy to your garden. 🌿 Whether you’re reviving a root-bound tree or relocating it for better growth, the key is preparation, gentle handling, and ongoing attention.
Now that you’re armed with the know-how, there’s nothing left to do but roll up your sleeves and get planting! 🌱
Ready to take the next step? Mark your calendar for the best transplanting season in your climate, gather your supplies, and give your cherry tree the fresh start it deserves. Happy gardening!