
Planting
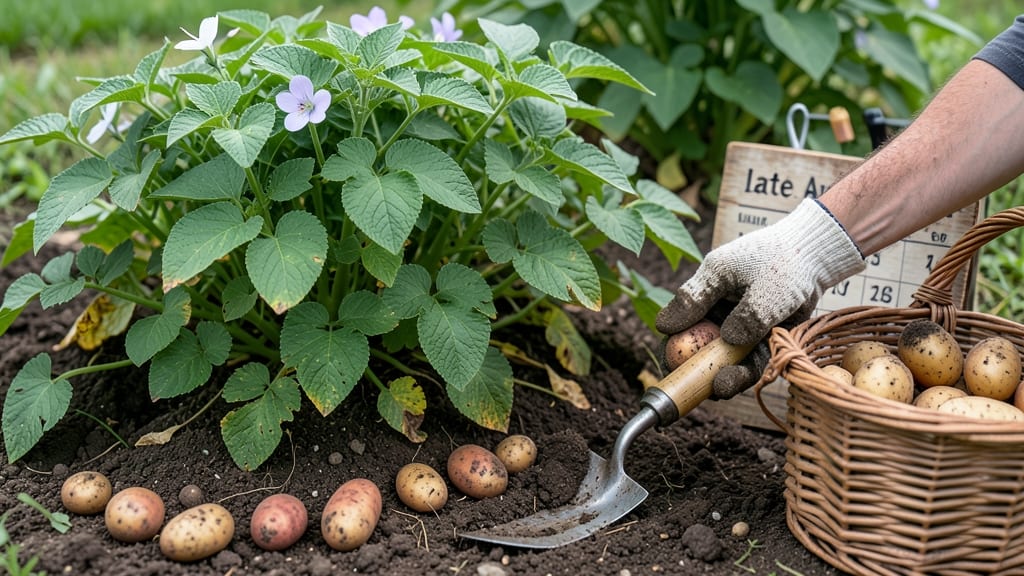
To pick potatoes after planting at the perfect time means harvesting firm, flavorful tubers instead of shriveled or underdeveloped ones—so how do you know when those 🥔 treasures are ready?
Timing your potato harvest wrong can mean lumpy, underdeveloped tubers or shriveled, starchy failures—so how do you know when those buried treasures are ready? The secret lies in the skin slip test, a foolproof way to check tuber maturity without digging up every plant.
Most gardeners wait 70 to 120 days after planting, but the real clues are in the foliage and soil. When the plant’s stems yellow and die back, or the skin resists a gentle thumb press, it’s time to harvest. Ignore these signs, and you risk tubers turning woody or splitting.
Below, I’ll walk you through the skin slip test, other key harvest indicators, and how to adjust for your climate—so you never miss the perfect moment to pull those potatoes from the earth.
How to use the skin slip test for perfect potato harvest timing
If you've ever dug up potatoes only to find lumpy, underdeveloped tubers or shriveled, starchy failures, you know timing is everything. The skin slip test is my go-to method for determining the perfect moment to harvest potatoes—it's simple, reliable, and works for every variety.
This test focuses on the tuber skin's resistance, which changes as potatoes mature underground. When done right, it guarantees you'll pull potatoes at their peak flavor and texture.
Most gardeners wait for foliage yellowing or count days after planting, but these methods aren't foolproof. The skin slip test cuts through guesswork by testing the physical maturity of the tubers themselves.
I've used this technique for years, and it's saved me from harvesting too early (when potatoes are still small and waxy) or too late (when they've become tough and inedible). Let's dive into how to perform this test correctly.
- 1
- 2
- 3
- 4
- 5
- 6
The skin slip test works because potato skins naturally thicken and toughen as tubers mature. When the skin resists your thumbnail, it means the potato has developed enough starch and flavor for ideal eating quality.
This method is especially useful for long-season varieties like Russets or Yukon Golds, which can take 100-120 days to mature.
Pro tip: Perform the test in the morning when tubers are firmest. If you test in the afternoon, warm soil can make skins feel softer than they actually are. Also, avoid testing during hot, dry spells, as stress can alter skin texture temporarily.
For early varieties like Red Pontiac or Kennebec, you might see positive results as early as 70 days after planting.
What if your potatoes pass the skin slip test but the foliage still looks green and healthy? This can happen with high-yielding varieties or in cool climates. In these cases, harvest a few tubers for immediate use and leave others in the ground to continue maturing.
The skin test gives you the most accurate read on tuber maturity, regardless of what the plant above ground looks like.
One common mistake is assuming all potatoes in your patch will pass the test at the same time. Soil conditions, sun exposure, and variety differences can create a 2-week spread in maturity.
That's why I always test multiple plants and harvest in stages—this ensures you get the best mix of sizes and flavors.
For storage potatoes like Russets, aim to harvest when 80-90% of tubers pass the skin slip test. If you wait until 100% pass, you risk over-maturity, which leads to shriveled, tough potatoes.
For immediate-use varieties like fingerlings, you can harvest slightly earlier when 50-70% pass—these potatoes are best eaten fresh.
Remember, the skin slip test isn't just about timing—it's about quality. Potatoes harvested at the right maturity have better texture, sweeter flavor, and longer storage life.
Next time you're unsure about your potato harvest, skip the guesswork and use this simple, reliable method. Your taste buds (and your dinner table) will thank you!
Other key signs your potatoes are ready for harvesting
Beyond the skin slip test, your potatoes send clear visual cues when they're ready to harvest. Watch for these key indicators to avoid missing the perfect window. The first sign is often foliage yellowing, where the leaves and stems turn yellow-brown and start dying back naturally.
This plant senescence happens when the plant redirects energy to the tubers below ground. For early varieties, this occurs around 70-90 days after planting, while late varieties may take up to 120 days. Don't wait too long—overripe tubers develop a rough, leathery skin and lose flavor.
| Sign | What It Means | Action |
|---|---|---|
| 🌿 Foliage Yellowing | Leaves turn yellow-brown and die back | Harvest within 1-2 weeks |
| 🌸 Flower Blooms | Flowers appear and fade (7-14 days later) | Wait 2-3 weeks after flowers die |
| 📏 Tuber Size | 2-3 inches in diameter (baseball-sized) | Dig a test sample if unsure |
| 🌡️ Soil Conditions | Warm, dry soil (60°F+) | Harvest on dry, sunny days |
Pay attention to flower blooms, which signal tuber development is well underway. Most varieties bloom around 4-6 weeks after sprouting, and tubers form shortly after. Wait 2-3 weeks after flowers fade before harvesting—this ensures full maturity without overripening.
For new potato varieties (like fingerlings), you can harvest smaller tubers (1-2 inches) when flowers first appear, but wait for full-size tubers (2-3 inches) for storage varieties. Always dig a test sample to check size before full harvest.
Finally, check the soil conditions. Potatoes thrive in warm, dry soil (60°F+), which makes harvesting easier. Avoid digging when soil is wet—this damages tubers and invites rot. If frost threatens before harvest, dig immediately, even if foliage isn't fully yellow.
Combine these signs with the skin slip test for foolproof timing. When multiple indicators align, it's time to celebrate—your potatoes are ready for the table or storage! 🥔