
Planting
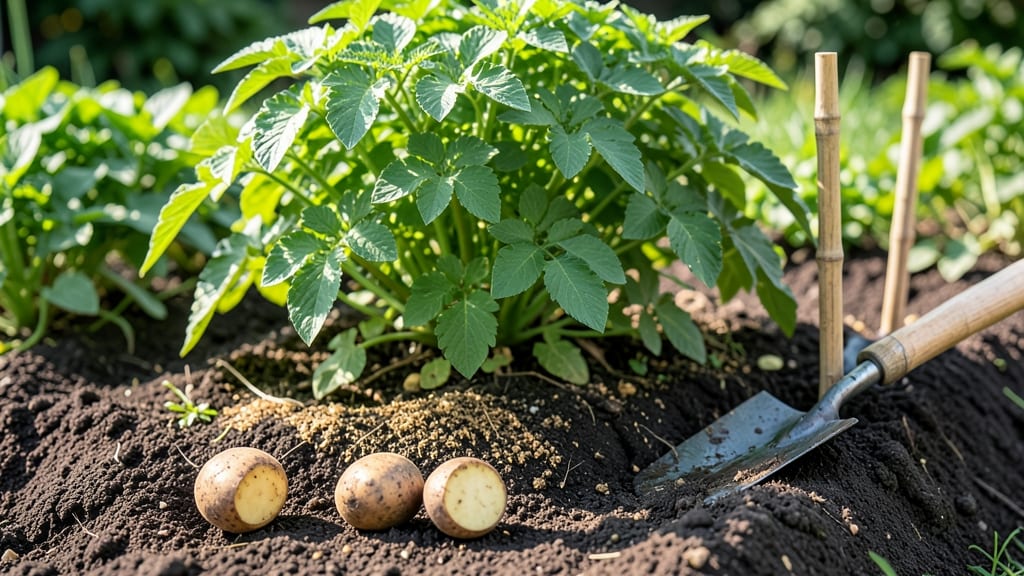
Planting seed potatoes in the ground transforms a simple garden bed into a high-yielding harvest factory—if you nail the spacing. 🌱 I’ve learned the hard way that cramming them too close means small, misshapen tubers, while giving them room leads to bountiful, easy-to-dig potatoes.
The secret isn’t just planting; it’s creating the perfect conditions before the first spud even hits the soil.
Start with chitted (pre-sprouted) seed potatoes—those little eyes will grow into sturdy stems that resist disease. Work in well-draining soil mixed with compost, and plant them 4 inches deep, 12 inches apart in rows spaced 3 feet apart.
This spacing might feel generous, but it pays off when harvest time rolls around with clean, unbroken potatoes.
After planting, keep the soil moist but not soggy, and watch for those first green shoots. When they reach 6 inches tall, mound soil around the stems to encourage more tuber formation.
By midsummer, you’ll see foliage thicken, and by late summer, you’ll be digging up pounds of potatoes—no guesswork, just precision.
This method works for any climate where potatoes thrive, from cool mountain gardens to warm valley plots. The key is patience:: potatoes need 80-120 days to mature, but the wait turns into a rewarding harvest that feeds your family for months. Ready to turn your garden into a potato powerhouse?
📚 In This Guide
- What you need
- Instructions
- Tips and common mistakes
- Wrapping up and next steps
What you need
- ● Seed potatoes: 2–3 lbs (1–1.5 lbs per 10 sq ft of garden bed). Choose certified disease-free, organic seed potatoes (avoid grocery-store spuds—they’re treated to prevent sprouting!).
- ● Garden soil: Well-draining, loose soil with a pH of 5.0–6.5. Amend with compost (2–3 inches mixed into the top 6–12 inches of soil) for nutrient-rich growing conditions.
- ● Garden fork or tiller: For loosening compacted soil to a depth of 12 inches.
- ● Garden hose or watering can: With a gentle spray nozzle for even watering.
- ● Ruler or measuring tape: For precision spacing (aim for 12–15 inches apart in rows, 24–36 inches between rows).
- ○ Planting sticks or labels: Optional but helpful for tracking varieties and spacing.
- ● Potato fertilizer: Low-nitrogen, high-phosphorus fertilizer (e.g., 5-10-10 ratio) to boost root and tuber growth. Apply at planting and again when flowers appear.
- ● Mulch (straw or grass clippings): 2–3 inches to retain moisture and suppress weeds.
- ● Row covers or netting: To protect young plants from pests like Colorado potato beetles.
- ● Garden twine or stakes: For trellising if growing fingerling varieties vertically.
Step-by-step guide to planting seed potatoes for a bountiful harvest
Precision spacing and proper technique make all the difference—here's how to plant seed potatoes like a pro.
🌱 Step 1: Chit Your Seed Potatoes Before Planting
Place your seed potatoes in a cool, bright spot 4-6 weeks before your last frost date. I store mine in a cardboard box with the "eyes" (sprout buds) facing up. Within 2-3 weeks, you'll see green chits (sprouts) emerge—this signals they're ready for planting. The chits grow stronger roots once in the ground, so don't skip this step.
If your climate has unpredictable spring temperatures, wait until nighttime temps stay above 40°F before planting. Cold soil slows root development, and you'll end up with stunted plants. I test soil readiness by pressing my finger into the ground—if it feels cool but not frozen, it's time to plant.
🪴 Step 2: Prepare the Soil and Planting Site
Choose a location with full sun (at least 6-8 hours daily) and well-draining soil. I dig in 2-3 inches of compost a week before planting to enrich the soil without disturbing the seed potatoes. The ideal planting depth is 4-6 inches, with the chits facing upward.
Space your seed potatoes 12-15 inches apart in rows that are 3 feet apart. This gives mature plants room to spread and prevents disease by improving air circulation. If you're planting in a raised bed, ensure it's at least 8 inches deep—potatoes need space to grow downward.
💧 Step 3: Plant and Earth Up for Stronger Stems
Dig a hole for each seed potato, place it in with the chits facing up, and cover with 2-3 inches of soil. Water gently to settle the soil around the base. As the stems grow 4-6 inches tall, mound soil around them, leaving just the top 2 inches exposed. This process, called "earthing up," encourages more tuber formation.
Repeat the earthing-up every 2-3 weeks until the plants flower. You'll know it's time when the stems reach 12-18 inches tall and the foliage starts to yellow. The mounded soil prevents light from reaching the tubers, which turns them green and bitter—a common mistake that ruins harvests.
☀️ Step 4: Maintain Moisture and Monitor for Pests
Water your potato plants 1-2 inches per week, keeping the soil consistently moist but not soggy. I check moisture by sticking my finger 2 inches deep—if it feels dry, it's time to water. Too much moisture invites rot, while too little causes tubers to develop a rough, scabby skin.
Watch for colorado potato beetles and aphids, which can devastate a crop. I handpick beetles in the morning when they're sluggish and drop them into soapy water. For aphids, a strong spray of water usually knocks them off the plants. If you notice yellowing leaves or stunted growth, act fast—potatoes are vulnerable to blight and other fungal diseases.
⏰ Step 5: Harvest at the Right Time for Peak Flavor
New potatoes are ready 2-3 weeks after flowering, when the plants are still green. I dig carefully with a fork to avoid piercing the tubers. For a full harvest, wait until the foliage yellows and dies back, usually 4-6 weeks after flowering. This gives the tubers time to fully mature and store well.
Cure your potatoes by leaving them in a dark, 50-60°F space for 1-2 weeks before storing. This toughens the skin and improves storage life. I use an unheated garage or basement, checking weekly for soft spots or mold. Properly cured potatoes keep for 2-4 months in a cool, dark place.
Tips & tricks for perfect seed potato planting
These precision techniques will transform your potato harvest from decent to extraordinary—trust me, I've learned the hard way.
Chitting Timing: The 4-6 week chitting period before last frost is non-negotiable for strong root systems. I place my seed potatoes in an egg carton (perfect spacing!) on a windowsill with indirect light. The 2-3 weeks until green chits appear gives you a clear visual cue—when those sprouts reach about 1 inch long, they're ready to plant. Pro tip: If your chits get leggy (too tall), plant them immediately—they'll still root but may be less vigorous.
Soil Preparation Strategy: That 2-3 inches of compost you're adding isn't just for show—it's the foundation for tuber development. I mix in a handful of wood ash (optional) for potassium boost, but only if your soil tests show deficiency. The key is working the compost into the top 6 inches of soil where most roots will form. For heavy clay soils, add 1/4 inch of coarse sand per square foot to improve drainage—this prevents the dreaded scabby skin that ruins market potatoes.
Earth-Up Technique Mastery: When your stems reach 4-6 inches and you're ready for the first earthing-up, I use a garden fork to gently loosen soil from the sides before mounding. This prevents soil compaction that can strangle developing tubers. The goal is to leave just 2 inches exposed—any more and you risk sunburn on the stems. I mark my rows with stakes so I don't accidentally mound over the tops when doing subsequent earthing-ups every 2-3 weeks.
Harvest Timing Secret: Those 2-3 weeks after flowering for new potatoes is a sweet spot, but here's what nobody tells you: dig a test potato at 14 days after flowering to check size. If they're golf-ball sized, you can harvest the whole patch. For full-sized potatoes, wait until 4-6 weeks after flowering when foliage yellows—this gives tubers time to develop thicker skins. I harvest on a dry morning after a light rain; the soil is easier to work and tubers come out cleaner.
Pro Tips for Plant Seed Potatoes In The Ground
- These precision techniques will transform your potato harvest from decent to extraordinary—trust me, I've learned the hard way.
- Chitting Timing: The 4-6 week chitting period before last frost is non-negotiable for strong root systems.
- Soil Preparation Strategy: That 2-3 inches of compost you're adding isn't just for show—it's the foundation for tuber development.
Frequently asked questions
Got questions about planting seed potatoes? You’re not alone! Here are some of the most common concerns—plus straightforward answers to help you grow a thriving crop with confidence.
How deep should I plant seed potatoes?
Plant seed potatoes 4–6 inches deep in loose, well-draining soil. Deeper planting (up to 8 inches) works for larger tubers or colder climates, but avoid burying them too shallowly—this can expose them to light (turning them green and toxic) or frost damage. Aim for 3–4 inches of soil covering the top of each potato.
When is the best time to plant seed potatoes?
Timing depends on your climate! In warm regions, plant 2–4 weeks before your last frost date (soil should reach 40°F). In cooler areas, wait until soil warms to 50°F+ or use a cold-frame. For a fall harvest, plant early summer—just ensure tubers mature before frost hits (aim for 90–120 days to harvest).
Can I plant store-bought potatoes as seed potatoes?
Technically yes, but organic, untreated seed potatoes from a nursery are ideal. Store-bought potatoes may carry diseases (like blight) or have been treated to prevent sprouting. If you use grocery-store spuds, chit them first (place in a bright, cool spot for 4–6 weeks to grow sprouts) and avoid varieties prone to disease (e.g., Russets).
What do I do if my seed potatoes rot in the ground?
Rot usually means too much moisture or poor drainage. If you notice wilting or mold, check for soggy soil—potatoes need well-draining soil (mix in compost or sand if clay-heavy). Space rows 3 feet apart for airflow, and avoid overwatering. If rot starts, dig up affected tubers, discard them, and treat soil with copper fungicide if needed.
Do I need to hill seed potatoes like I do for regular potatoes?
Yes! Hilling (piling soil around stems) prevents greening and encourages more tubers. When plants reach 6–8 inches tall, mound soil around the base, leaving just the top leaves exposed. Repeat every 2–3 weeks until harvest. Skip hilling only in very loose, sandy soil where potatoes won’t need extra coverage.
Wrapping up and next steps
Planting seed potatoes is a rewarding way to grow your own delicious, homegrown spuds—just remember, precision spacing is key! By following the right depth, distance, and soil prep, you’ll set the stage for a bountiful harvest.
Whether you’re a first-time gardener or a seasoned green thumb, these steps make it simple and stress-free.
Now that you’re ready to dig in, why not mark your calendar? Keep track of planting dates, watering schedules, and harvest times to stay on top of your potato patch. Happy gardening—your future meals (and taste buds) will thank you! 🌱🥔